DIY pipe insulation is a cost-effective way to improve your home's energy efficiency, reduce heating/cooling bills, and protect pipes from freezing damage. The right materials, like lightweight, flexible foam or fiber rolls/sheets, trap heat in winter and block cold air in summer. By following a simple step-by-step guide, DIYers can identify vulnerable pipes, measure and cut insulation to fit, and secure it with duct tape for optimal protection.
Keep your home warm in winter and cool in summer—and lower your energy bills—with DIY pipe insulation. Understanding how to insulate pipes is a valuable skill that offers significant cost-saving benefits. This guide breaks down the basics of DIY pipe insulation, from identifying which pipes need protection to selecting the right materials for optimal energy efficiency. We then provide a comprehensive step-by-step guide to ensure your pipes are properly insulated, helping you save money and reduce energy consumption.
- Understanding DIY Pipe Insulation: The Basics and Benefits
- Choosing the Right Materials for Optimal Energy Efficiency
- Step-by-Step Guide to Effectively Insulate Your Pipes (DIY)
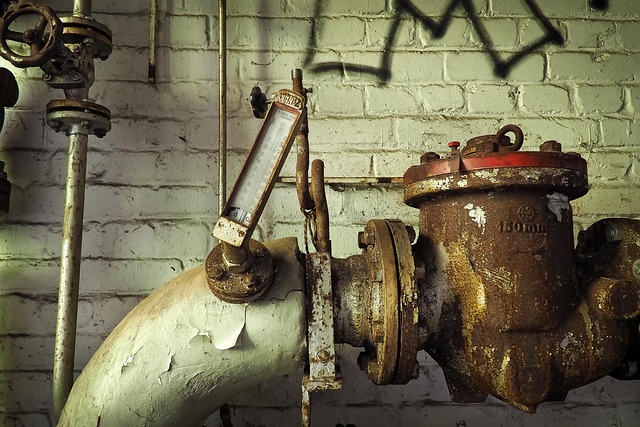
Understanding DIY Pipe Insulation: The Basics and Benefits

DIY pipe insulation is a cost-effective way to keep your water heating and cooling systems running efficiently, saving money on energy bills. By wrapping pipes with insulating material, you prevent temperature loss or gain, reducing the workload on your heating and cooling systems. This simple project involves purchasing foam or fiber insulation specifically designed for pipes, cutting it to size, and securing it in place with tape or clamps. The benefits extend beyond financial savings; proper insulation protects pipes from freezing during cold weather, preventing costly bursts and repairs. It also helps maintain consistent water temperatures, ensuring optimal comfort levels throughout your home.
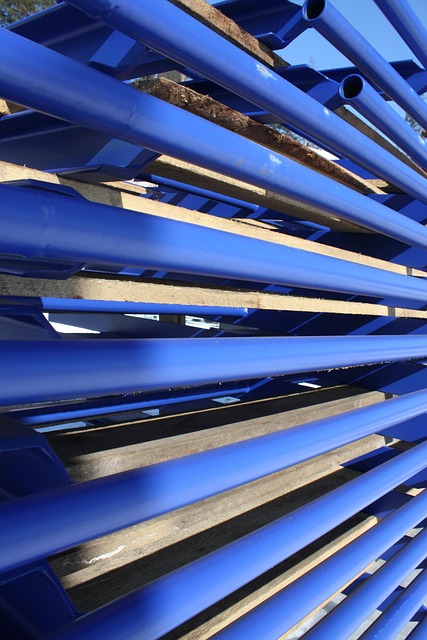
Choosing the Right Materials for Optimal Energy Efficiency
When considering DIY pipe insulation, selecting the right materials is paramount for achieving optimal energy efficiency. Look for products designed specifically for pipes, as they are typically made from lightweight, flexible, and insulating foams or fibers that can fit around various pipe sizes. These materials are designed to trap heat during winter and keep cold air out during summer, significantly reducing heat loss and saving on heating and cooling costs.
For DIY projects, consider pre-cut foam insulation rolls or sheets that are easy to install. Ensure the insulation covers all exposed pipes, including those in hard-to-reach areas, for maximum effectiveness. The right materials will not only enhance energy efficiency but also contribute to a more comfortable living environment and lower utility bills over time.
Step-by-Step Guide to Effectively Insulate Your Pipes (DIY)
Insulating your pipes is a straightforward, cost-effective way to save money and protect your home’s plumbing system. Here’s a step-by-step guide for DIY pipe insulation that anyone can follow:
1. Identify Pipes to Insulate: Start by locating the pipes you want to insulate. These are typically hot water and cold water supply lines, as well as any exposed pipes in your basement, attic, or crawl space. Look for areas where pipes are closest to exterior walls or windows, as these can be particularly vulnerable to freezing.
2. Gather Materials: You’ll need pipe insulation (available in foam, fiberglass, or rubber), a utility knife, a measuring tape, and duct tape (optional). Choose insulation with an R-value suitable for your climate – higher values offer better cold weather protection. Ensure the insulation is long enough to fully cover pipes and overlap at least 6 inches.
3. Measure and Cut Insulation: Use your measuring tape to determine the length of pipe to be insulated. Cut the insulation to size using a utility knife, allowing for ample overlap as specified by the manufacturer’s instructions.
4. Install Insulation: Slide the insulation onto the pipe, starting at the point where it enters the wall or ceiling. Ensure it fits tightly around the pipe and is secure. Overlap each section of insulation as you go to prevent air gaps. If using duct tape, secure the ends and overlaps for added stability.
Insulating your pipes is a cost-effective way to boost energy efficiency and prevent frozen pipes. By choosing the right materials and following a simple DIY guide, you can significantly reduce heating bills and maintain a reliable plumbing system. Embrace this straightforward home improvement project for long-lasting benefits—it’s an excellent step towards a more sustainable and affordable home.