DIY pipe insulation is a simple yet effective way for homeowners to improve their plumbing system's efficiency and protect against extreme weather. Using materials like fiberglass or foam, you can cut and secure insulation around pipes, reducing temperature fluctuations, noise, and moisture issues. With the right tools (including pipe insulators, tape, measuring tape, and a heat source) and following straightforward steps, DIYers can enhance their home's energy efficiency, save on heating/cooling costs, and prevent frozen pipes—all while enjoying a more comfortable living environment.
Looking to tackle a cost-effective home improvement project? DIY pipe insulation is an excellent choice. This guide breaks down why insulating pipes matters—from preventing freezing to reducing energy costs—and provides a step-by-step tutorial to get you started. Learn which tools and materials you’ll need, from foam insulation to duct tape, and gain the skills to effectively insulate pipes yourself.
- Understanding Pipe Insulation: Its Benefits and Necessity
- Getting Started with DIY Pipe Insulation: Tools and Materials Required
- Step-by-Step Guide to Effectively Insulate Pipes Yourself
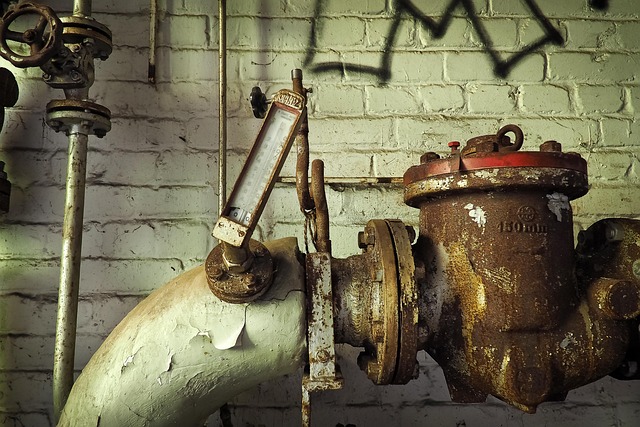
Understanding Pipe Insulation: Its Benefits and Necessity

Pipe insulation is an essential component of any home or building’s plumbing system, offering a multitude of benefits that extend beyond just temperature regulation. By wrapping pipes with insulation, DIY enthusiasts and professionals alike can significantly enhance energy efficiency, reduce heating and cooling costs, and prevent frozen pipes during colder months. This is particularly crucial in areas with extreme weather conditions where pipe freezing can lead to costly damage.
DIY pipe insulation is a manageable task that can be accomplished with the right materials and tools. It involves selecting an appropriate insulation material like fiberglass or foam, cutting it to fit around the pipes, and securing it with tape or special adhesive. This simple process not only protects pipes from temperature fluctuations but also minimizes noise transmission, makes pipes easier to handle, and provides added protection against moisture-related issues.
Getting Started with DIY Pipe Insulation: Tools and Materials Required
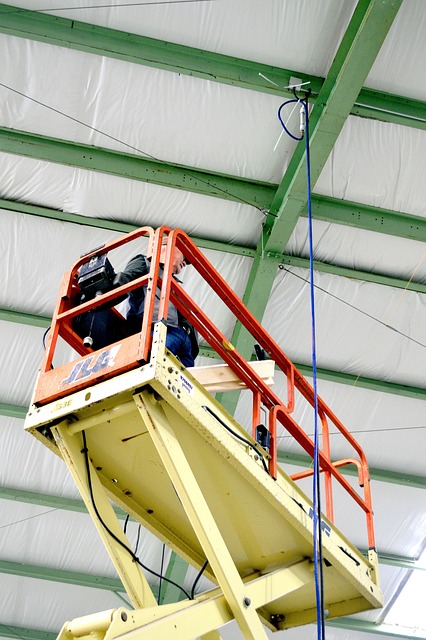
Starting your own DIY pipe insulation project is easier than you think. Gather your essential tools and materials before beginning to ensure a smooth process. For most residential projects, you’ll need a variety of pipes insulators (in appropriate lengths and sizes for your system), insulation tape, a utility knife or scissors, a measuring tape, and a heat source (like a hair dryer or heat gun) to seal the insulation effectively. A ladder may also be necessary if you’re working on elevated pipes. Having these essentials on hand allows you to focus on the job at hand and efficiently complete your DIY pipe insulation project.
Step-by-Step Guide to Effectively Insulate Pipes Yourself

Insulating pipes yourself is a great way to save money and improve your home’s energy efficiency. Here’s a step-by-step guide for DIY pipe insulation that anyone can follow.
1. Identify the Pipes: Start by locating the pipes you want to insulate. Check under sinks, in attics, or near exterior walls. Ensure these are the pipes that convey hot or cold water.
2. Gather Materials: Collect the necessary materials including pipe insulation (made of fiberglass, foam, or mineral wool), a utility knife, tape measure, and a heat source like a hairdryer. Choose insulation based on your climate and the temperature of the pipes.
3. Measure and Cut Insulation: Use the tape measure to determine the length required for each pipe. Cut the insulation to fit using the utility knife. Leave about 2-3 inches extra material at each end for sealing.
4. Install the Insulation: Slide the insulation onto the pipe, starting at one end. Ensure it’s snug and secure. Use your heat source to soften any backing material (if applicable) so that it sticks to the pipe.
5. Seal the Ends: Trim the excess insulation from the ends using the knife. Apply a layer of tape or sealant over the cut edges to prevent air leaks and ensure maximum insulation effectiveness.
Pipe insulation isn’t just a niche home improvement project—it’s a smart, cost-effective way to enhance energy efficiency and prevent pipe damage. By taking on DIY pipe insulation, you’re not only saving money but also contributing to a greener home and reducing your carbon footprint. With the right tools and materials, insulating pipes can be a straightforward process that yields significant long-term benefits. So, whether you’re tackling it yourself or seeking inspiration for a future project, embracing DIY pipe insulation is a step towards a more comfortable, sustainable home.