
DIY pipe insulation is an effective solution to prevent heat loss in plumbing systems, increasing efficiency and saving energy costs. By using materials like rigid foam boards or flexible insulations, you can create a barrier that slows down heat transfer, keeping water warmer for longer. The process involves choosing the right materials, measuring and cutting insulation, wrapping pipes tightly, and sealing them with thermal tape to prevent freezing damage, ensuring consistent hot water supply throughout colder months.
Keep your pipes from freezing this winter with effective DIY pipe insulation. Understanding heat loss and its impact on plumbing systems is crucial, as it can lead to burst pipes and costly repairs. This guide explores the best methods to stop heat loss, prevent freezing, and optimize energy efficiency using simple, affordable materials. Learn the essential steps for a successful DIY project that will safeguard your pipes year-round.
- Understanding Heat Loss and Its Impact on Plumbing Systems
- Materials and Tools for Effective DIY Pipe Insulation
- Step-by-Step Guide to Insulating Pipes: A Practical Approach
Understanding Heat Loss and Its Impact on Plumbing Systems
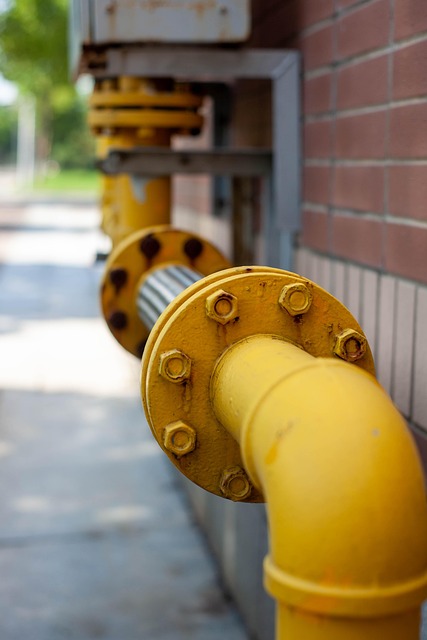
Heat loss is a significant issue in plumbing systems, leading to reduced water heating efficiency and increased energy costs. When hot water travels through pipes, it can lose temperature due to several factors such as conduction, convection, and radiation. This heat transfer occurs more readily in uninsulated or poorly insulated pipes, causing the water to cool down before it reaches its intended destination. As a result, homeowners may experience lower water temperatures, longer shower times, and higher heating bills during colder months.
DIY pipe insulation is an effective solution to mitigate this problem. By insulating pipes, you create a barrier that slows down heat transfer, keeping the water warmer for a more extended period. This simple yet powerful method ensures your plumbing system operates at optimal efficiency, providing consistent hot water supply and potentially saving you money on energy bills.
Materials and Tools for Effective DIY Pipe Insulation
To tackle heat loss and freezing issues effectively, consider arming yourself with the right materials and tools for a successful DIY pipe insulation project. Common choices include rigid foam insulation boards, such as polyisocyanurate or polystyrene, which offer excellent thermal resistance. These can be cut to fit around pipes using a utility knife or circular saw. For a more flexible approach, opt for spun glass or rockwool insulation, easily installed with a pipe insulator tool and stapler. Don’t forget the importance of pipe insulation tape, designed to seal and secure insulation in place. Additionally, heat-reflective fabric can further enhance energy efficiency by reflecting heat back into the pipes. Gather these essential tools and materials for a DIY solution that keeps your pipes warm and prevents freezing damage.
Step-by-Step Guide to Insulating Pipes: A Practical Approach
Insulating pipes is a straightforward and effective way to prevent heat loss and keep your home warm during chilly seasons. Here’s a practical guide on how to tackle this DIY project:
1. Gather Materials: Start by collecting the necessary materials, including insulation rolls or blankets specifically designed for pipes, duct tape, scissors, and thermal tape (optional). Choose insulation based on the size of your pipes and the temperature you aim to maintain.
2. Identify Pipes to Insulate: Locate the pipes you want to insulate, typically those exposed in attics, walls, or exterior areas prone to freezing temperatures. Ensure accessibility for easy installation.
3. Measure and Cut Insulation: Measure the length of pipes to be insulated and cut the insulation material accordingly. Leave a small overlap at each end to allow for better sealing.
4. Install Insulation: Wrap the pipes with the insulation, ensuring it fits snugly. Use duct tape to secure the insulation in place, pressing firmly to create a tight seal. For extra protection against moisture and temperature fluctuations, consider applying thermal tape over the joints.
DIY pipe insulation is a practical and cost-effective solution to prevent heat loss and freezing in plumbing systems. By understanding the impact of heat loss and selecting the right materials, you can effectively insulate pipes with ease. Following the step-by-step guide provided, you’ll be able to create a well-insulated pipeline, ensuring optimal efficiency and protecting your system from potential damage caused by extreme temperatures. Embrace these simple yet powerful methods to keep your home cozy and your plumbing running smoothly all year round.