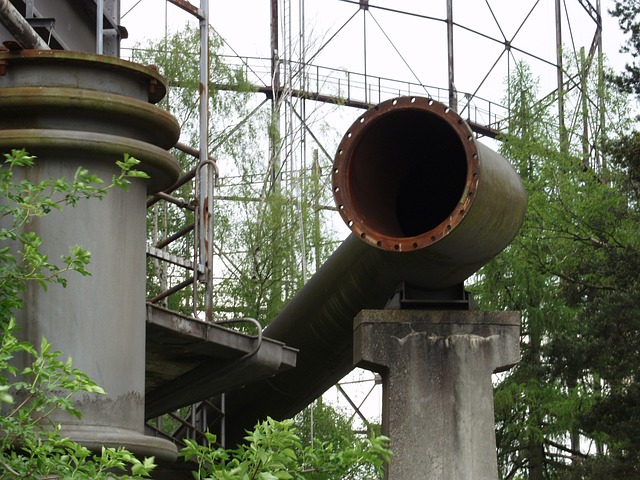
DIY pipe insulation is an affordable and effective way for homeowners to boost energy efficiency, conserve water, and lower heating costs. By wrapping pipes with insulating material like fiberglass or foam, you reduce heat transfer during extreme weather, minimizing energy waste. Focus on vulnerable pipes near exterior walls or in uninsulated areas. Gather materials including pipe insulation, measuring tape, scissors/knife, and duct tape (optional). Measure, cut, and slide insulation onto pipes, securing it tightly around bends. This simple project creates a long-term solution for efficient plumbing systems and reduced energy consumption.
Looking to slash your water bills and contribute to environmental conservation? DIY pipe insulation is a simple, effective way to achieve both. This guide delves into the essentials of pipe insulation, explaining how it boosts water efficiency and reduces energy costs. Learn about suitable materials, gather the necessary tools, and follow our step-by-step instructions for a successful DIY project. Cut down on your utility expenses and join the quest for a more sustainable future, one insulated pipe at a time.
- Understanding Pipe Insulation: Why It Matters for Water Efficiency
- Materials and Tools Needed for DIY Pipe Insulation Project
- Step-by-Step Guide to Effectively Insulate Pipes at Home
Understanding Pipe Insulation: Why It Matters for Water Efficiency
Pipe insulation isn’t just about keeping water temperatures consistent; it’s a key strategy for enhancing water efficiency in your home. Understanding why is crucial for any DIY enthusiast looking to lower their utility bills and contribute to sustainability. By wrapping pipes with insulating material, you significantly reduce heat transfer, which means less energy is wasted trying to maintain water temperature, especially during extreme weather conditions. This is particularly important for hot water pipes, as they can lose a considerable amount of heat if not insulated properly, leading to longer shower times and increased energy consumption.
DIY pipe insulation is an easy, cost-effective way to make your home more energy efficient without significant investments. It’s a simple project that any homeowner can undertake, offering immediate benefits in terms of water conservation and lower heating costs. With the right materials and some basic tools, you can insulate pipes running through walls, floors, and even attics, ensuring that every inch of your plumbing system is working efficiently to deliver hot or cold water when you need it, without unnecessary waste.
Materials and Tools Needed for DIY Pipe Insulation Project
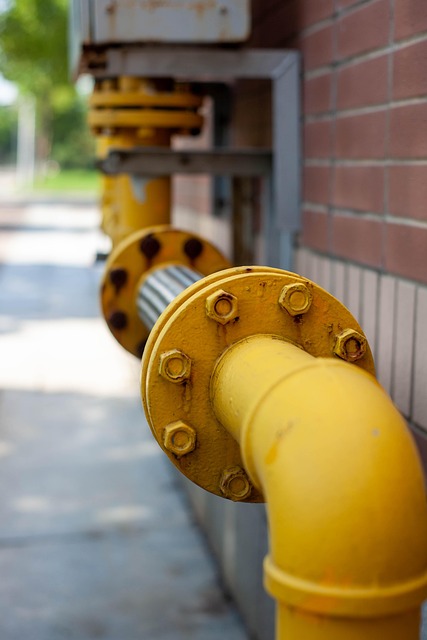
To tackle a DIY pipe insulation project, gather the right materials and tools for optimal efficiency. Start with high-quality pipe insulation in various lengths, suitable for your pipes’ dimensions. Choose insulation made from materials like fiberglass or foam, known for their excellent thermal resistance and flexibility. Don’t forget to select pipe insulation with a protective jacket, enhancing durability.
Essential tools include measuring tape, scissors or a utility knife, a saw (for cutting longer pieces), heat-resistant gloves, and safety glasses. A hairdryer or heat gun can also be handy for installation, as it helps expand the insulation for a snug fit around pipes. Ensure proper ventilation during the process to maintain a safe environment.
Step-by-Step Guide to Effectively Insulate Pipes at Home

Insulating your pipes is a straightforward DIY project that can deliver significant long-term savings on your water and heating bills. Here’s a step-by-step guide to help you get started:
1. Identify Pipes to Insulate: Begin by locating the pipes in your home that are most prone to temperature fluctuations, such as those near exterior walls or in uninsulated attics. Common candidates include hot water pipes and cold water supply lines.
2. Gather Materials: You’ll need pipe insulation (available in foam, fiber glass, or rubber), a measuring tape, scissors or a utility knife, and possibly duct tape for securing the insulation. Choose insulation with a rating suitable for the temperature range of your pipes.
3. Measure and Cut Insulation: Using your measuring tape, determine the length of pipe to insulate. Cut pieces of insulation slightly longer than the pipe’s length using scissors or a knife. Be sure the insulation covers both the pipe and nearby supporting structures.
4. Apply Insulation: Slide the cut pieces of insulation onto the pipes, ensuring they fit snugly without gaps. For corners or bends in the pipe, use insulated fittings or wrap the insulation around the bend tightly.
5. Secure Insulation (Optional): While not always necessary, securing the insulation with duct tape can help prevent it from shifting or coming loose, especially in areas prone to vibration.
Insulating your pipes is a straightforward DIY project that offers significant benefits in terms of water efficiency and cost savings. By understanding the importance of pipe insulation and following a simple step-by-step guide, you can effectively reduce heat loss, prevent freezing, and lower your water bills. With the right materials and tools, DIY pipe insulation is an accessible way to make your home more energy-efficient and sustainable.