
Before starting any DIY pipe insulation project, evaluate pipes' type (copper, PVC, steel), size, and location, as these factors determine the best insulation materials like foam or fiberglass. Select materials offering flexibility and durability for a snug fit, ensuring optimal thermal resistance (R-value) for energy efficiency and water pressure maintenance. Consider outdoor temperature extremes and indoor humidity levels to choose the right insulation type and thickness, whether for cold weather prevention, warm climates, extreme fluctuations, or frequent pipe usage.
Insulating your pipes is a crucial step in maintaining efficient and safe plumbing, especially in extreme climates. This comprehensive guide will transform you into a DIY pipe insulation pro. We’ll walk you through every step, from assessing your pipes and choosing the right materials like fiberglass or foam, to preparing for installation and securing the insulation. By following these instructions, you’ll not only enhance energy efficiency but also prevent freezing pipes during cold months.
- Assessing Your Pipes and Choosing the Right Materials
- – Identifying pipe types and materials
- – Determining insulation needs based on climate and pipe usage
Assessing Your Pipes and Choosing the Right Materials

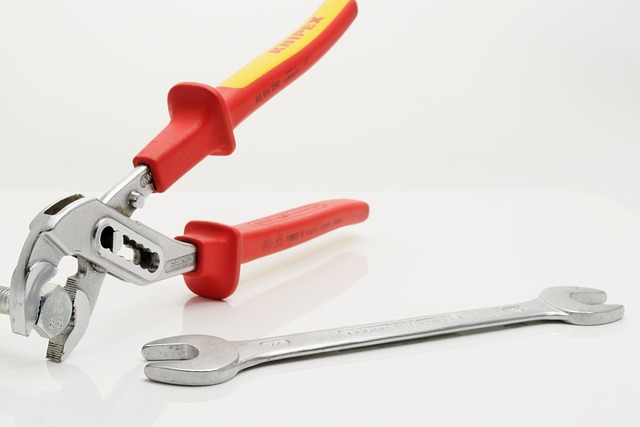
Before you begin any DIY pipe insulation project, it’s crucial to assess your pipes and choose materials that are best suited for the job. Start by inspecting the type, size, and material of your pipes. Different types of pipes, such as copper or PVC, may require specific insulation products. Additionally, consider the temperature of the water flowing through the pipes, as this will determine the needed R-value (a measure of thermal resistance) for the insulation.
When selecting materials for DIY pipe insulation, look for products designed for flexibility and durability. Insulation made from foam or fiberglass is common and effective. Ensure the insulation fits snugly around the pipes to maximize its effectiveness. Proper selection will create a robust barrier against temperature fluctuations, minimizing energy loss and maintaining water pressure, ultimately saving you money on heating and cooling bills.
– Identifying pipe types and materials

When it comes to DIY pipe insulation, understanding your pipes is key. First, identify the type of pipes in your home – copper, PVC, or steel are common. Each material requires a specific approach for effective insulation. For instance, flexible foam insulation works best with PVC due to its lightweight, easy-to-cut nature. Steel pipes might necessitate a more robust solution like fiber glass or mineral wool, which offer superior heat resistance.
Next, consider the location of the pipes. Outdoor exposed pipes may require additional protection from extreme temperatures and elements, whereas indoor pipes face challenges like condensation and humidity. Choosing the right insulation type and thickness depends on these factors, ensuring your DIY efforts provide optimal results and energy efficiency.
– Determining insulation needs based on climate and pipe usage
Understanding your climate and how you use pipes is crucial for effective DIY pipe insulation. In colder climates, where freezing temperatures are common, insulating pipes is essential to prevent water from freezing and expanding inside them, which can lead to burst pipes. On the other hand, in warmer regions, insulation helps maintain cool water temperatures, reducing energy loss and ensuring consistent hot or cold water supply depending on usage.
Pipe usage also plays a role. If pipes are exposed and subject to extreme temperature fluctuations, like those found in attics or exterior walls, thorough insulation is necessary. For pipes used frequently, such as hot water heaters or under sinks, partial insulation may suffice to maintain temperature without overdoing it. Knowing these factors will help you decide the appropriate level of insulation for each pipe, making your DIY project a success.
Insulating your pipes is a great way to prevent freezing, reduce energy bills, and extend the life of your plumbing system. By following these simple steps and choosing the right materials for your specific needs, you can easily achieve professional-level results with DIY pipe insulation. Whether you’re dealing with metal, plastic, or other types of pipes, assessing your climate and usage patterns will help guide your decision. So, roll up your sleeves, gather your supplies, and get ready to transform your plumbing into an energy-efficient, well-insulated network – one step at a time!